Configuring Alerts
The DWAS user interface is a web-based application. Now that we have discussed setting up an organization and inviting users, we are ready to set up the alerts.
An "alert" is best-defined by the parts that come together to create it (e.g. the associated point collection, rule, and subscriber entities). Alerts are different than notifications. Alerts describe the conditions of interest and notifications are what is emitted when the trigger conditions are actually met. All users in the organization have the power to specify "subscribers", such that the people setting up the alerts need not necessarily be the recipients.
The diagram below illustrates the dependency diagram between the different entities.
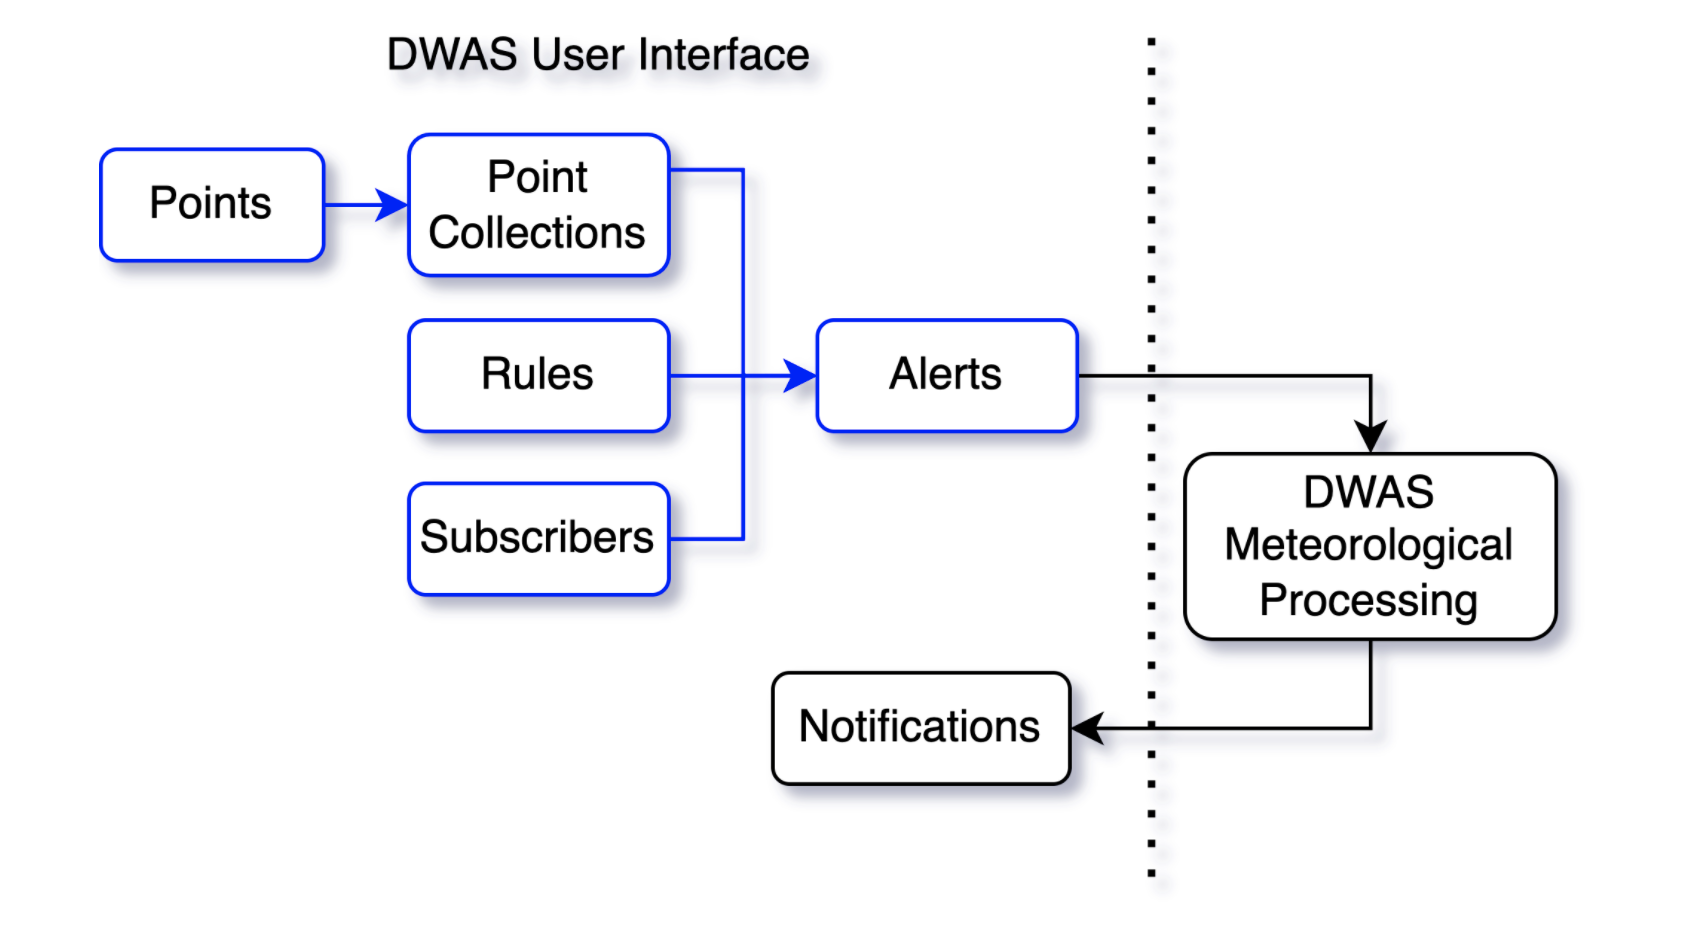
One can create the entities in any order, but an alert is not meaningful until all of its subparts are defined. Similarly, point collections are not useful until points are defined. Each of these entities are connected via many-to-many relationships.
These many-to-many relationships mean that:
- An alert can have many point collections and a point collection can appear in many alerts.
- An alert can have many rules and a rule can appear in many alerts.
- An alert can have many subscribers and a subscriber can appear in many alerts.
- A point collection can have many points and a point can appear in many point collections.
These many-to-many relationships provide the maximum flexibility to you, the user, such that you can evolve your configuration in the manner that you best see fit.
With a keen eye on reducing data-entry effort, we have provided a bulk upload feature for GeoJSON files. This enables one to upload many points at once and to (optionally) associate them with a particular point collection in the process.
List, Create, Edit, Show, and Delete
The DWAS UI provides the ability to list, create, edit, show, and delete all of the entities mentioned above, e.g. points, point collections, rules, subscribers, and alerts.
These actions are supported by URL endpoints using a syntax similar to those in Rest APIs. For example, the point resources take the following URLs:
- list:
#/points - create:
#/points/create - edit:
#/points/{id} - show:
#/points/show/{id}
For example, for a specific point, the URL takes the form as shown below:
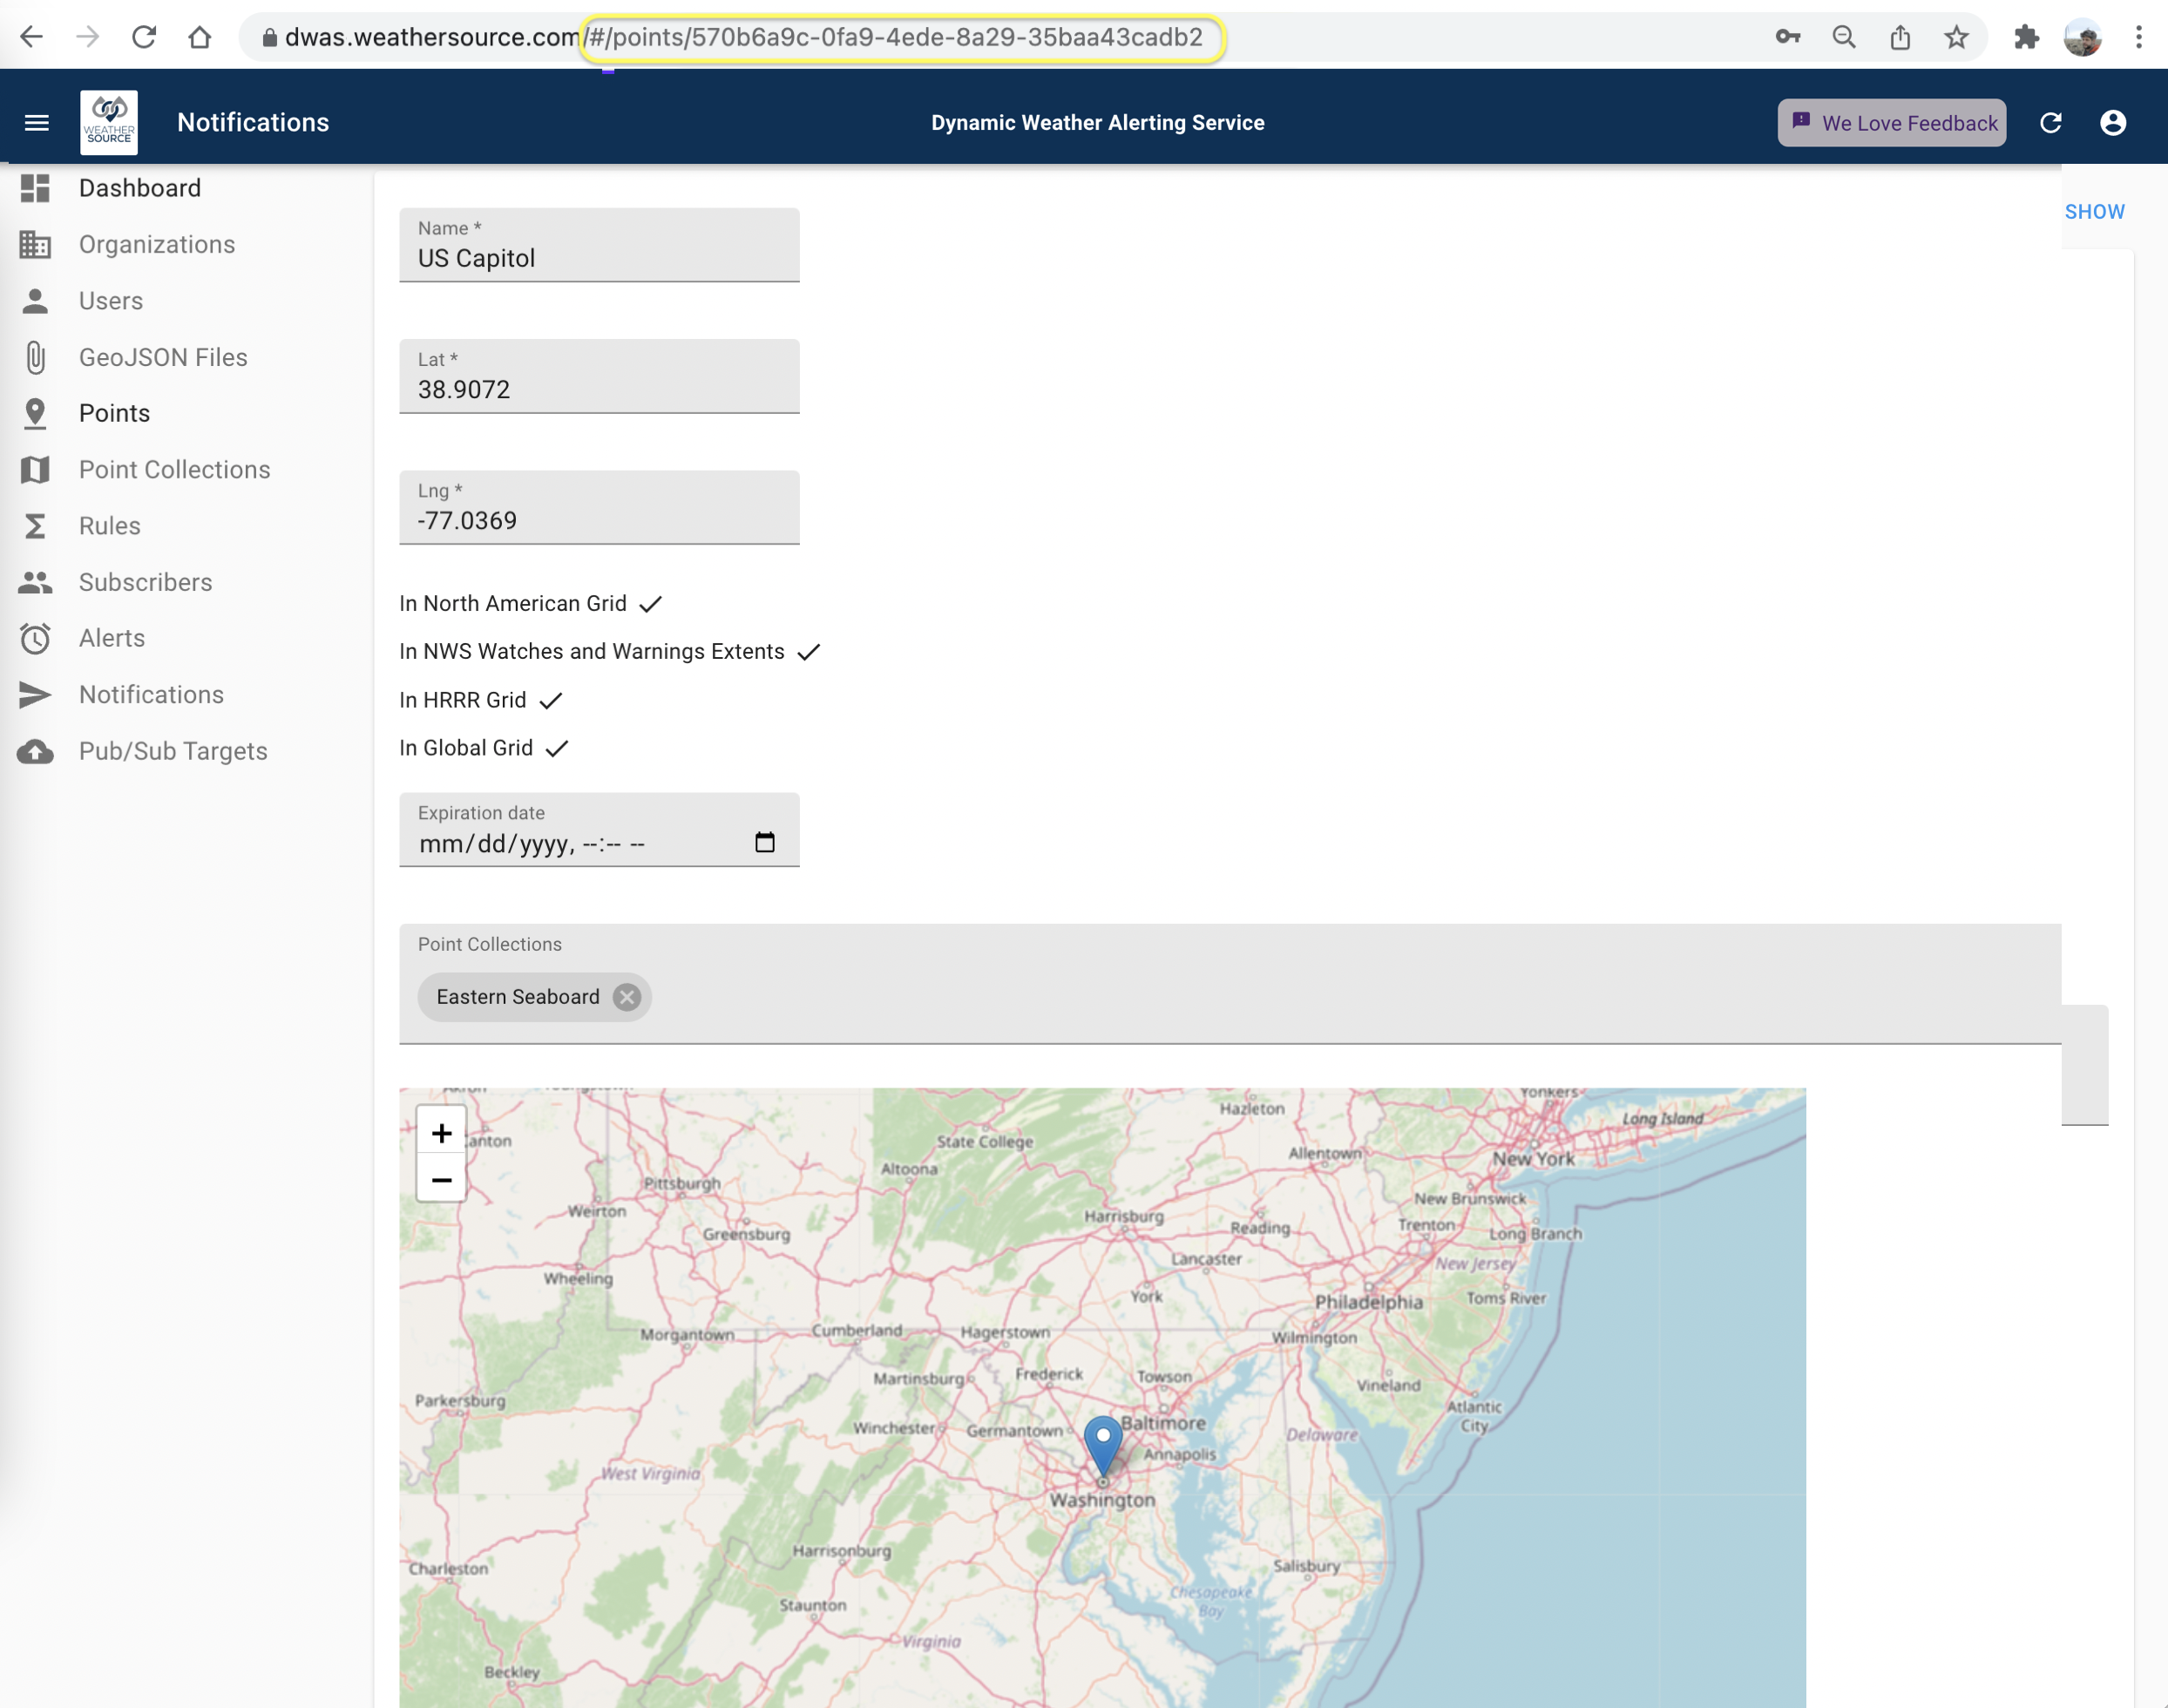
These are internal links inside the single-page application. One can interactively use the web user interface without noting these links, but they can be very useful when sharing links to specific data within an organization.
The generic form of these links are:
- list:
#/{resource} - create:
#/{resource}/create - edit:
#/{resource}/{id} - show:
#/{resource}/show/{id}
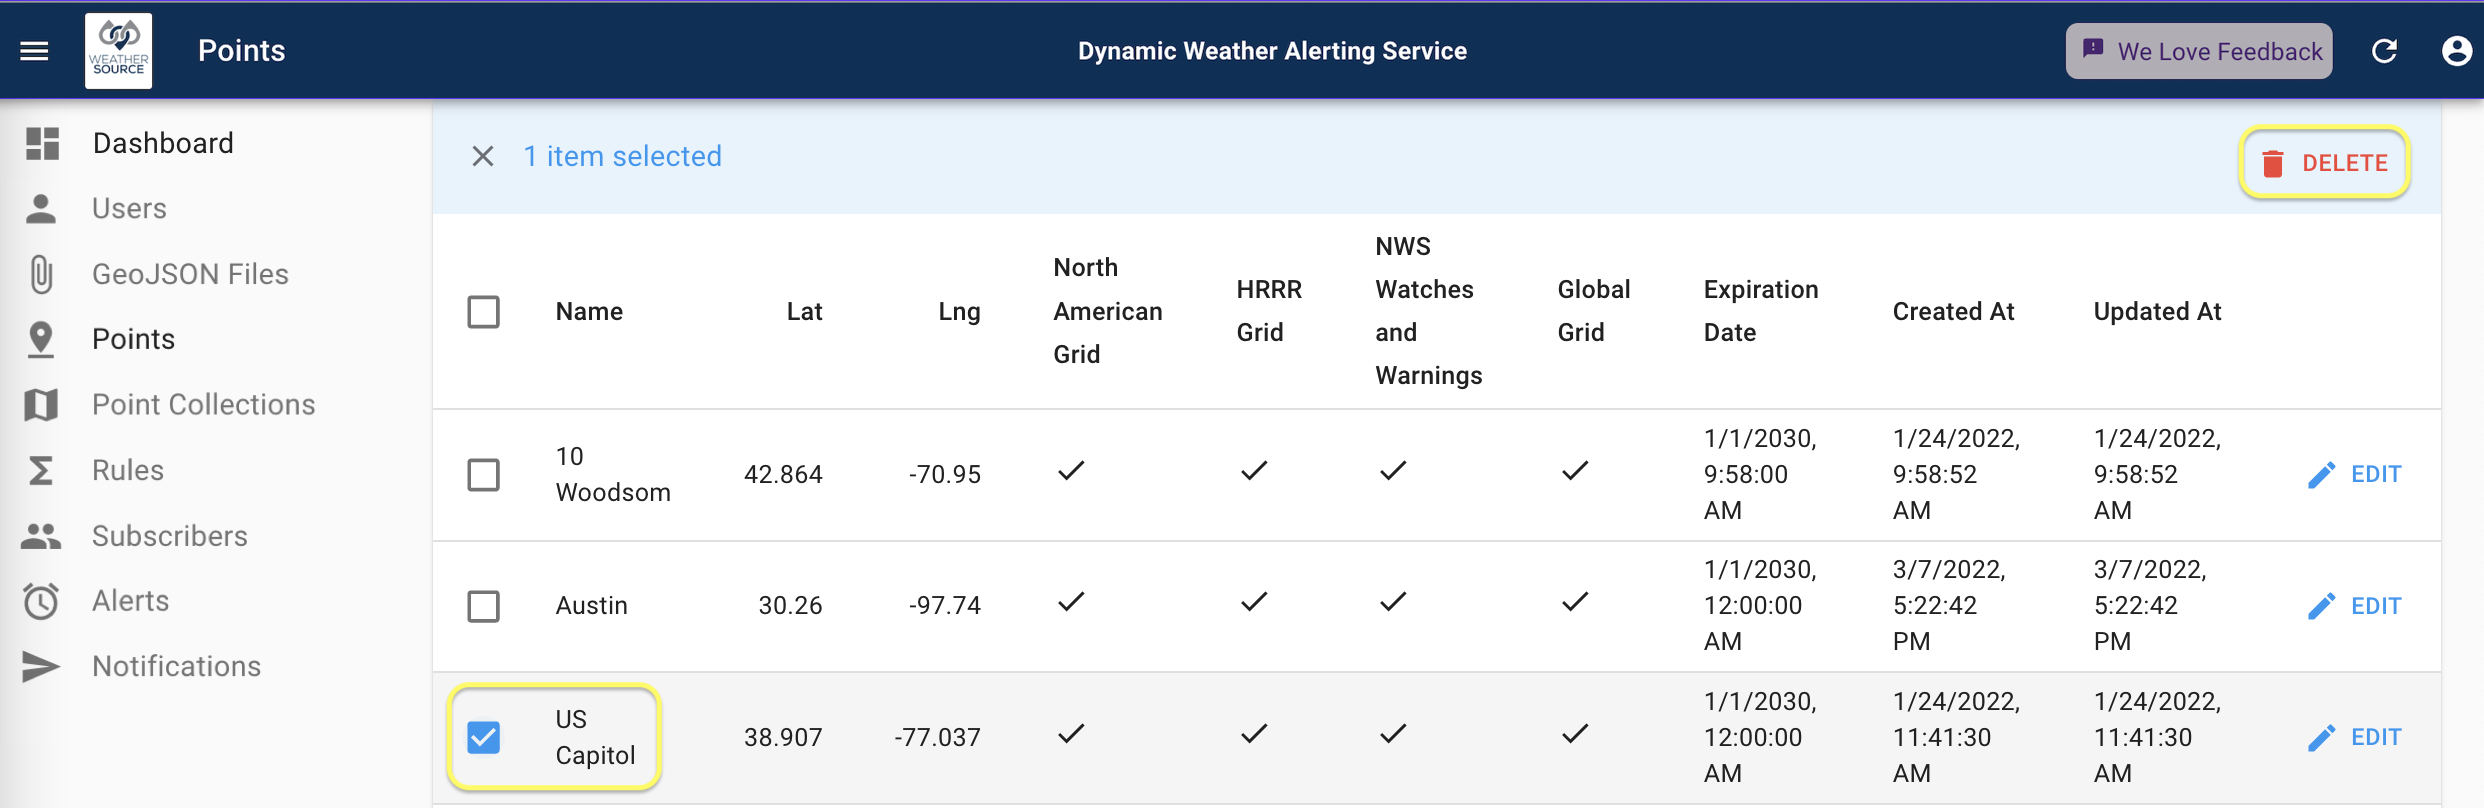
One can delete an entity from the list interface.
One can also delete an entity from the edit interface.

List Features
Export
All of the list interfaces offer the ability to export your data locally. This button is available in the upper right corner of all list interfaces and appears as an Export button.
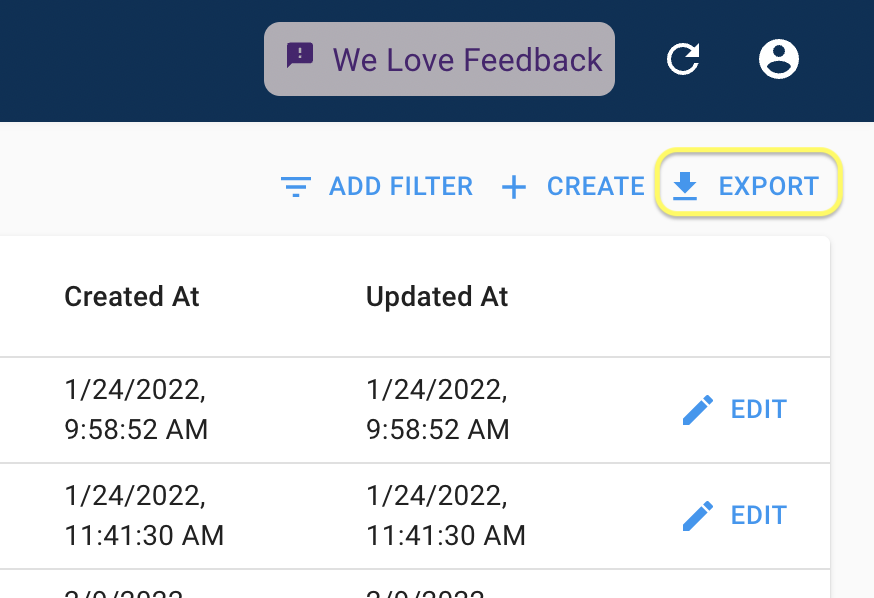
This allows the user to download all the entities as a CSV to their local machine and use them in any manner.
Filter
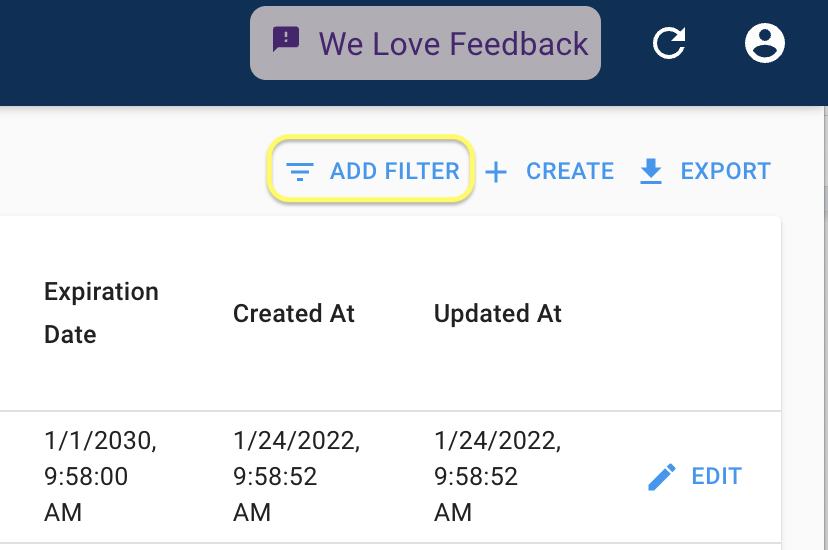
All of the list interfaces offer the ability to filter your data. This button is always available in the upper right corner and appears as an Add Filter button.
Each entity type has different properties/fields/attributes and therefore each dropdown filter will take a different form. The fields one can filter points with appears like so:
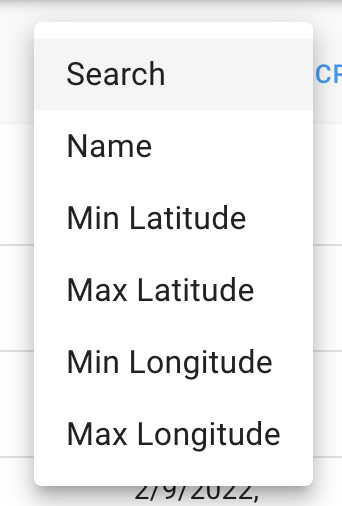
It is logical for floating point numbers, like latitude and longitude to be searchable by a bounding range as shown below.

One can search all the fields for any text using the generic "Search" option under the dropdown.

Sort
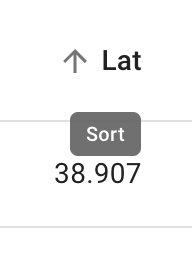
Most fields in the list interface support sorting in an ascending or descending manner. This is simply accomplished by clicking on the field heading name that you desire to sort by and it will toggle between ascending and descending sort order.
Create
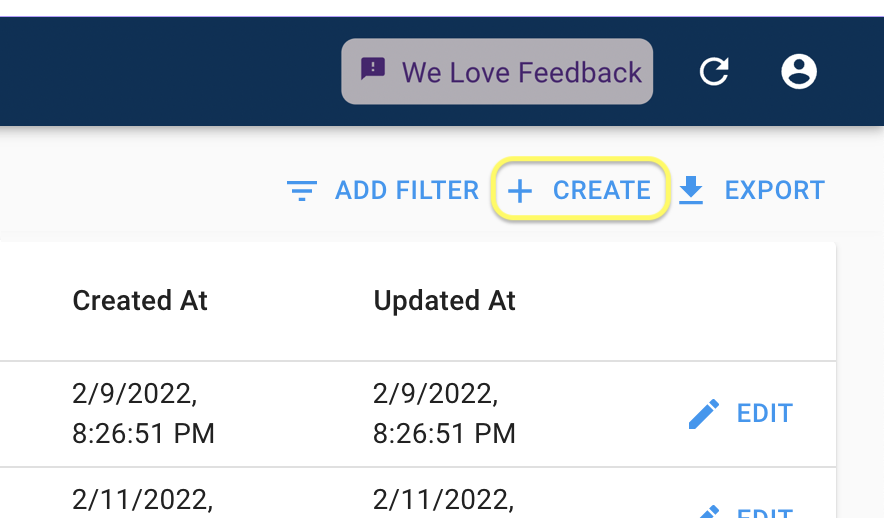
One can create an entity by clicking on the Create button from the list interface related to the entity.
Edit
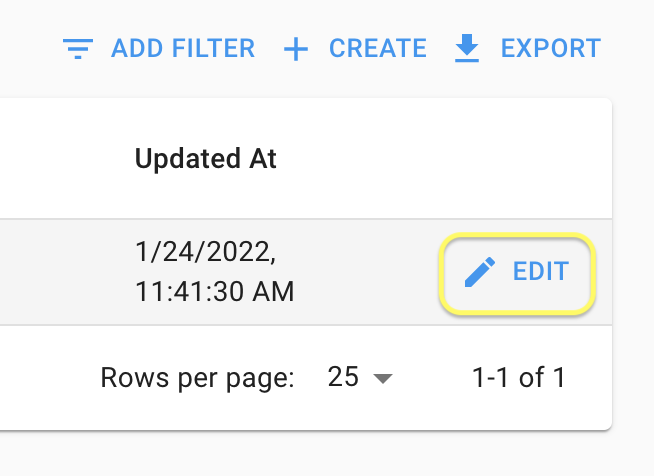
One can edit an entity by clicking on it from the list interface. There is also an Edit button in the final column that achieves the same thing.
Show
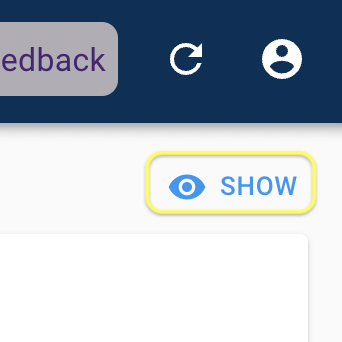
One can investigate a read-only view of an existing entity by clicking on the Show button from within an edit interface.
Delete
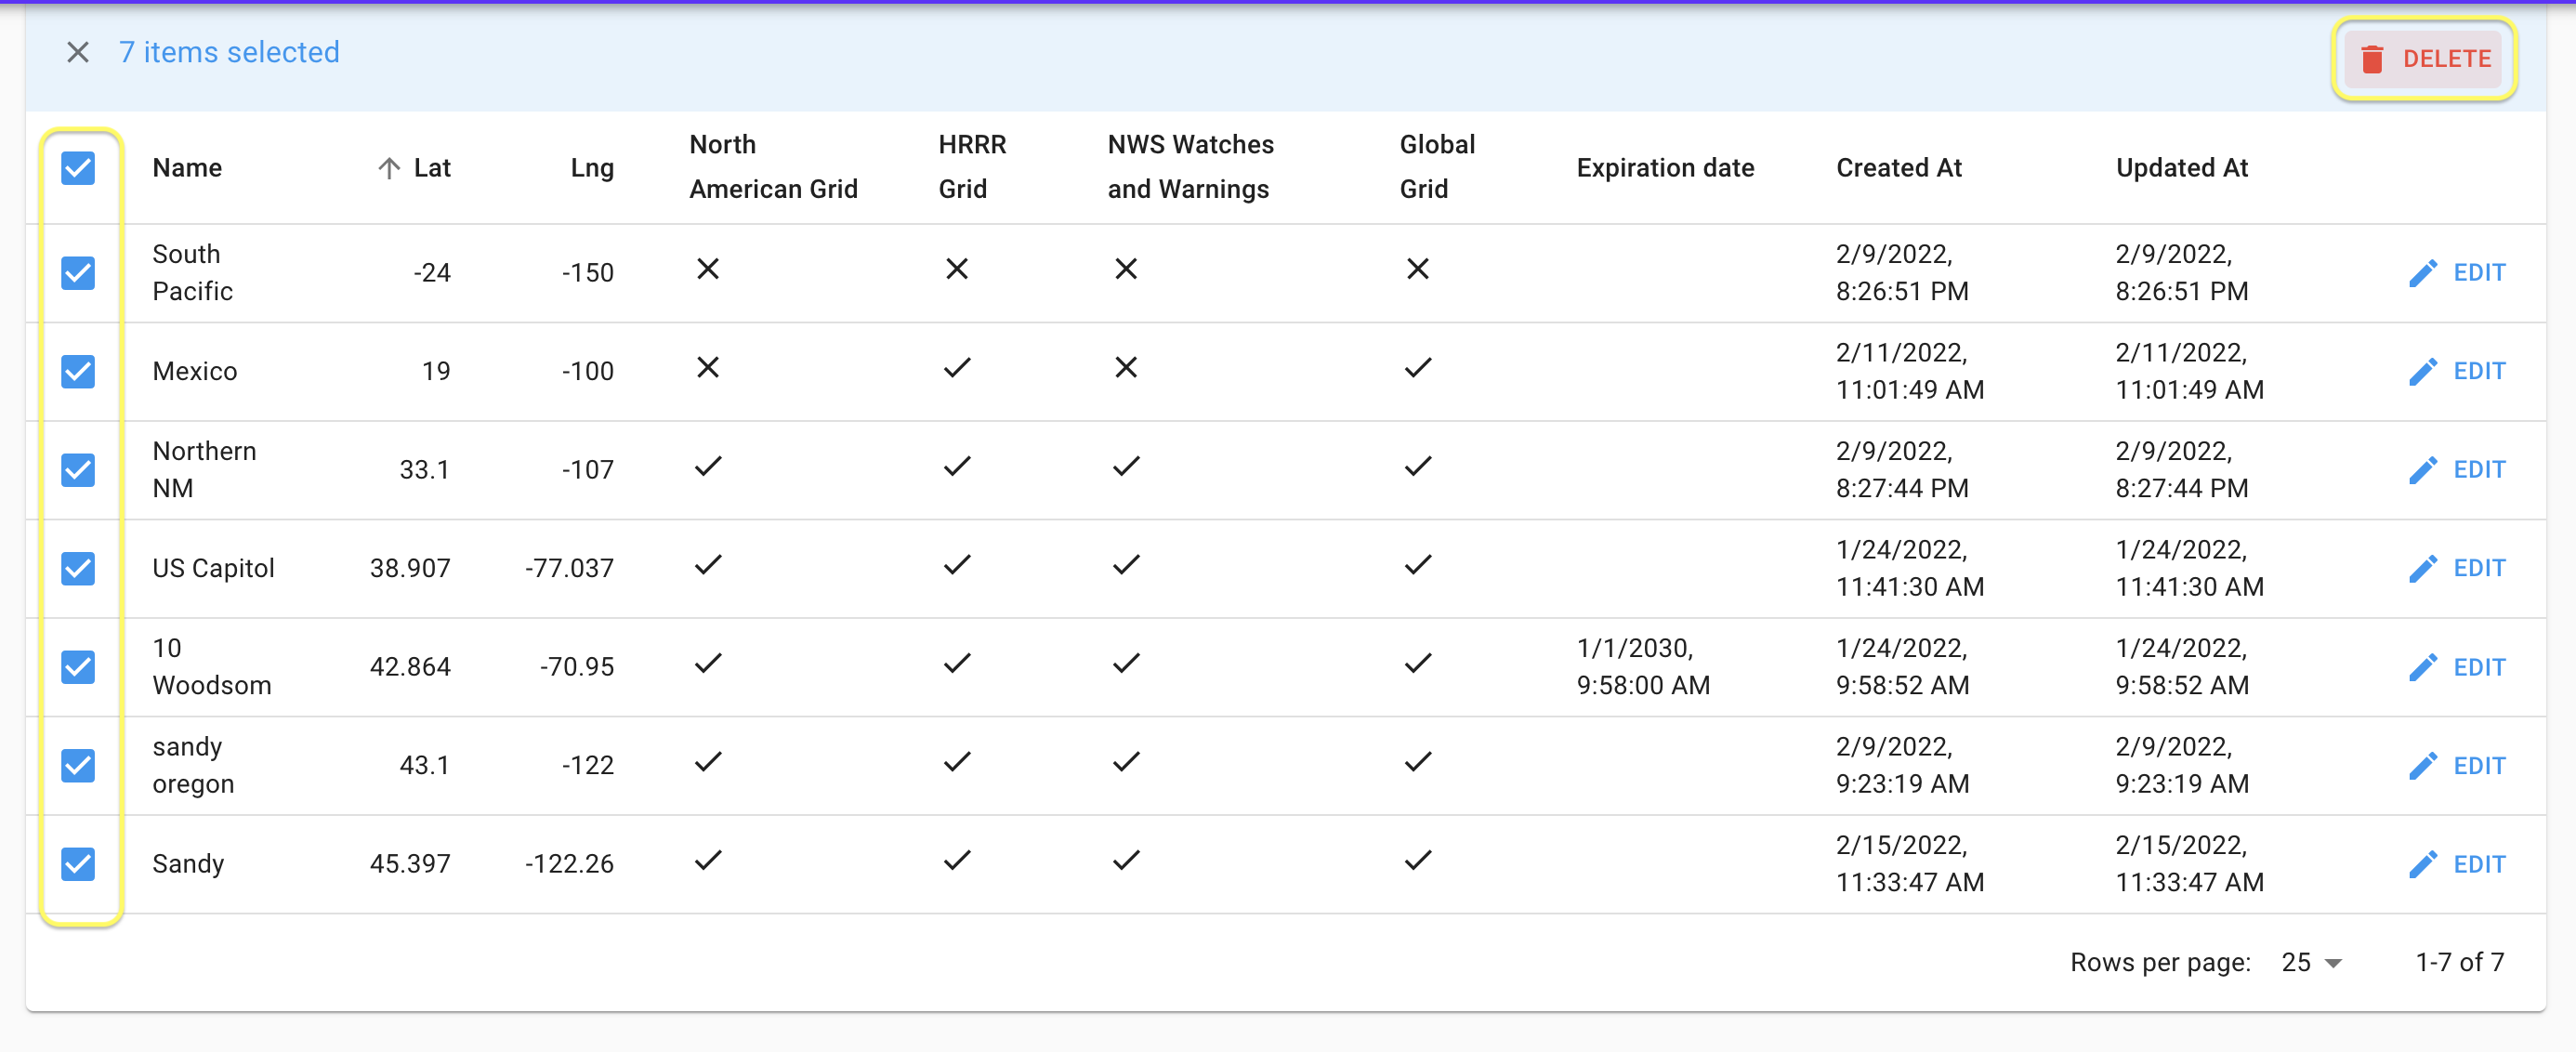
One can perform bulk deletes by selecting all the desired entities with their checkboxes and deleting them all at once using the Delete button in the upper right. Note that one can select entities in bulk by holding the shift key down while selecting a range of entities. This functionality is customary in many modern interfaces.
One can also individually delete an entity from within an edit interface using the Delete button in the lower right corner.
Now that we have introduced the general tools available for configuring the entities, let's start to visit them one by one and investigate how we use them to define an alert.